When I first started planning out my son’s big kid bedroom we decided on a cabin in the woods theme. And so naturally this is going to call for a cabin bed right? So I started scouring the internet and the bed I fell in love with was of course a $4000 Restoration Hardware piece that while great, was still not perfect. First of all, it’s a bit beachy – the slats and coloring are evocative of sun faded driftwood.
I’m also opposed to spending that much on a child’s bed, especially if I’m going to have to further customize it.
So credit where credit is due. This was my first attempt at building furniture so I used some existing plans because
- I know they would work for me because they’ve already worked for someone else and
- DIY does not mean recreating the wheel. We have something that works, we use it.
The plans I ultimately went with came from Ana White’s blog. She did a great job of laying out exactly what cuts to make to this cabin bed and how to put it all together.
I did make a few notable changes.
Follow these steps to get the bed I made:
- To make the bed look a bit more woodsy, I ditched the vertical slats. They’re purely decorative so you’re not losing anything structurally by getting rid of them
- I nixed the window framing for the same reason
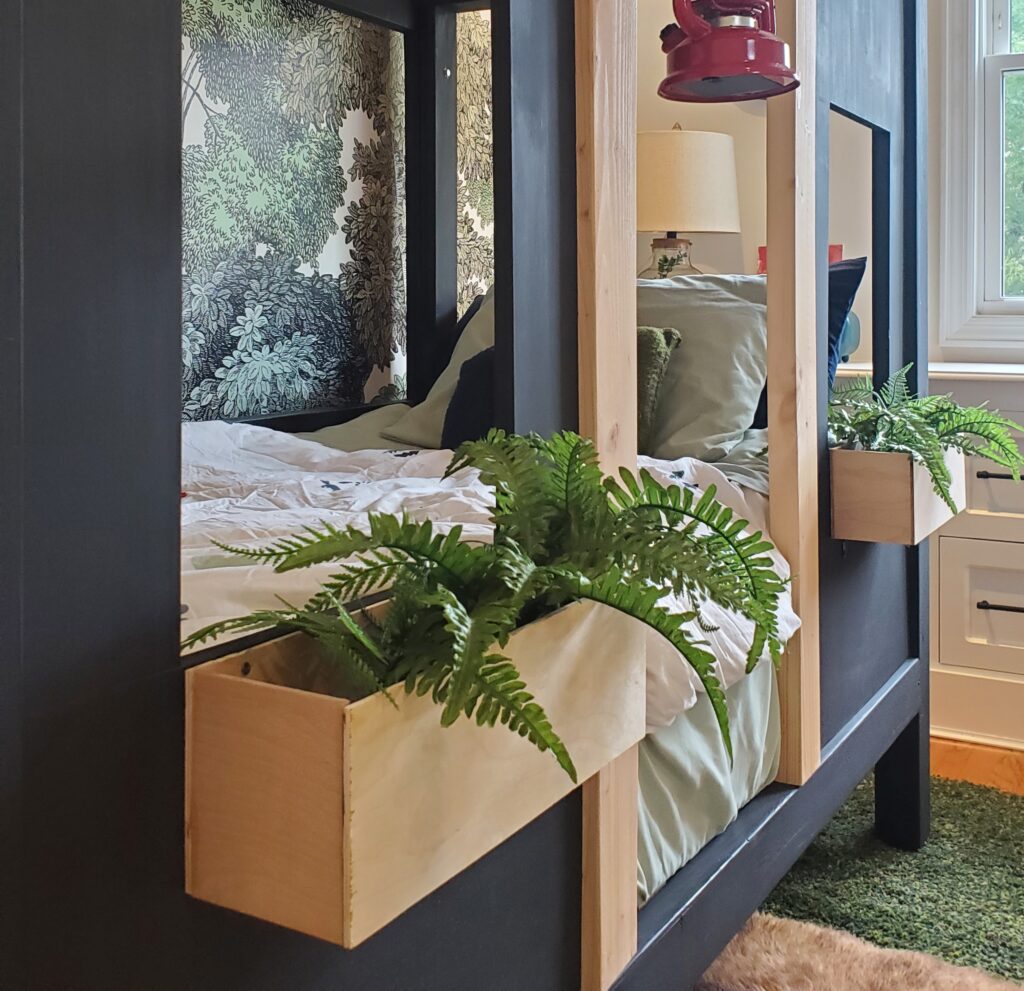
- I knew my son wouldn’t have a nightstand he could easily reach from inside his bed and he needs somewhere to put his water cup and the treasures he brings to bed with him so I designed these window boxes and attached them to the wall underneath each window. I got some floral foam and some faux ferns to look a little more homey while giving him an accessible place to reach for the items he likes to sleep next to.

- I chose paint colors that worked better for the theme we were going. I went with a flat black paint for the cabin walls and used a clear varnish to protect (but not stain) the door entry and roof slats.
This + the wallpaper anchors the cabin in the woods theme and gives us something to build from. Our little guy absolutely loves it 🙂


Leave a Reply